How To
How to add new Projects
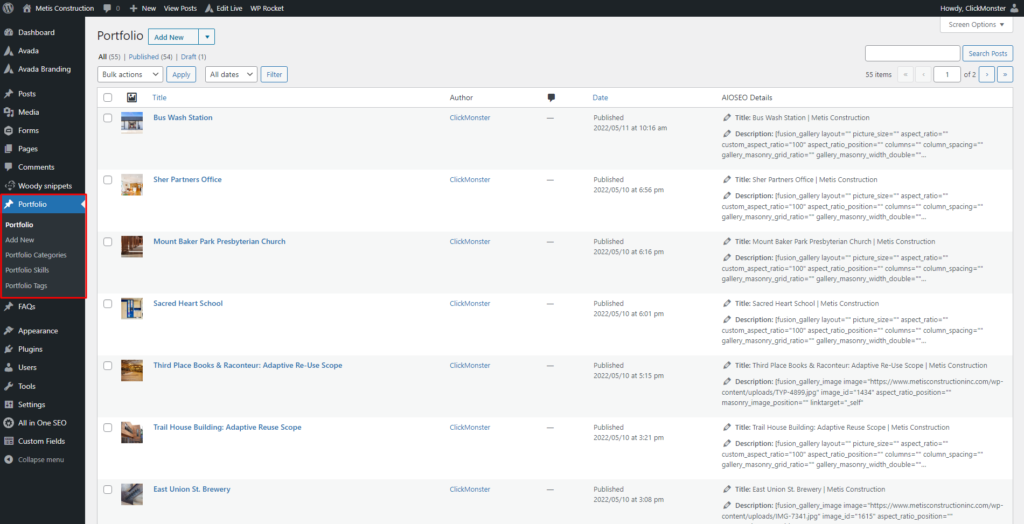
In the back-end area, find “Portfolio” on the left sidebar.
Click “Add New.”
Add title of the project.
Click “Avada Builder” to enable the theme’s page builder.
Once the Avada Builder section loads, click the “Library” tab on the dark gray bar. This will pull up the Library popup window.
Next, click the “Templates” tab.
Go to the “Projects” bar and hover “Load” and click “Replace all page content.” This will load a pre-saved gallery for the projects.
When the container loads, you will see a section that says “Gallery.” Hover over Gallery until the tool icons popup. Click the pen (edit) icon.
The Gallery window will pop up and you will see pre-loaded photos on the left side. Hover over each of the image bars and click the trash icon to delete all images.
Click the “+ Bulk Add” button to pull up the Media window. Upload new project photos into this window, then click “Insert into post” on the bottom right.
You can drag and drop the image bars to re-sort them in any order if you wish.
When satisfied, click the blue “Save” button on the Gallery window.
Select the correct category that the project belongs to.
Scroll down a bit more to the Featured Image section. Click “Set featured image” and upload or select the project’s main photo. This is the photo that will appear as the project’s thumbnail and the background image for its page title bar.
Scroll under the Gallery section and you will find the additional Project info you would like to enter. This should look familiar as it was built mostly similar to the previous functionality.
For team members, you will need to click on “Add Row” and enter the team member’s name, and repeat as you need to.
Once done, click the blue “Publish” button on the right side (may show up at the bottom right).
How to add new Staff Members
Go to Page on the left sidebar and find and click the Staff page in the list to edit.
Scroll down past the SEO settings until the Avada Builder is visible.
Find the group of staff you would like to make an addition to.
You can clone an existing column and edit the content – follow the video on that.
For the “Modal Text/HTML Text” be sure the “Name of Modal” have dashes between the names (similar to a filename).
When editing the Button element, the “Modal Window Anchor” should match the name in “Name of Modal” as both of these need to trigger the correct popup window.
In the “Modal” element, again, the “Name of Modal” should match the name on “Modal Text/HTML Text” and the Button element.
If there is a staff member without a bio, the Modal Text / HTML Link and the Modal elements are not needed. For example, Cody Burns under Project Leaders – you can clone this column and use as a point of reference.
Feel free to drag and drop the columns to change the order of